The webmail that Swizzonic makes available to you is not just an interface that only manages emails, but a real PIM, which stands for Personal Information Manager. It is a software that allows you to better organize certain information, such as:
- Email messages
- Address book
- Calendar with commitments and deadlines
- Various notes
To be able to set the functions described below in your Webmail, you must first log in to Webmail .
Add widgets in the portal
- Click on the menu tile at the top left
- Click on the Portal icon

- Click on Add widget on the right and select the desired widget

The following widgets are available:
| Inboxes: | Preview of received emails |
| Appointments: | a practical reminder of the appointments you have entered in your calendar |
| Birthdays | a tool that helps you to remember the birthdays of your contacts (entered in the address book) |
| My activities: | Tracks your projects that you enter under “Activities”. |
| RSS Feeds: | Link as many RSS feeds as you like and stay informed about movie news, news or whatever you prefer |
| User data: | Always keep your data under control |
Add signature
- Click on the gear icon in the menu bar at the top right and then on All settings at the top.

- Now switch to the Mail page in the settings on the right. Open the Signatures section and click on Add new signature.

3. A pop-up window opens. This contains input fields for entering your signature:
- Name of the signature. Enter a unique name here.
- Text field: Write your greeting, address, telephone number, etc. here.
- Toolbar for managing texts and customizations. With the tools in the toolbar, you can create professional signatures by changing the size, style and font of the text. You can also add links and images by uploading them directly from your computer.
- Decide where you want to insert your signature

4. Click on Save to save the signature.
Create a signature with HTML code
If you have already created your own signature in the past, you can use the Source code function to insert your signature.
To do this, you must click on the icon (on the right-hand side of the toolbar). A new field will open in which you can enter the HTML code you have prepared.
When you are finished, simply press the OK button (to preview your signature) and then press Save.

Set message filter
- In the menu bar at the top right, click on the gear icon and then on All settings at the top.

- Now switch to the Mail tab in the settings on the right, open the Rules section and click on Add new rule.

- A pop-up window will open. First select the appropriate condition here.
- Finally, when all the desired conditions and actions have been added, click Save at the bottom.
Set up automatic reply
If you are on vacation or know that you will not be able to answer incoming e-mails, you have the option of setting up an automatic reply. When you receive a message in your e-mail inbox for which you have set up an autoresponder, the system saves it in your inbox and simultaneously sends an e-mail you have set up informing the sender that you are unavailable.
- Click on the gear icon in the menu bar at the top right and then on All settings at the top.

- Now open the Mail tab in the settings on the right. There, open the Rules section and click on Out of office notification.

- In the opened settings for the out-of-office notification, you can select the date or start and end on which the notification should be active. Also enter a subject and the desired message.

- Finally, click the button at the top to activate the automatic out-of-office notification, then click Apply changes at the bottom.

Marking messages as spam
- Click on the E-MAIL icon

- Select the relevant e-mail. The prohibition symbol is still displayed. By marking several e-mails, you can mark them as spam at the same time.
- Marked e-mail messages are immediately moved to the Unwanted messages folder.
- An immediate warning is sent, which helps the system to recognize unwanted e-mails in the future.

- If you have accidentally marked an email as spam and want to restore it, go to your Spam folder, select the message and click on the thumbs up icon.
- Marked e-mail messages are immediately moved to the Inbox folder.
- The previously sent warning report will be deleted.

Changing the password
- Click on the gear icon in the menu bar at the top right.

- Click on all settings.

- Under the General tab in the advanced settings, you can change the password.

- Then click on Change password and log out.
Set up forwarding
- Click on the gear icon in the menu bar at the top right.

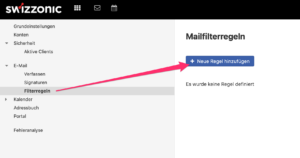
- Click on Filter rules > Add new rule

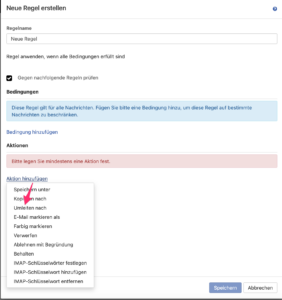
- Then click on Add action > Redirect to

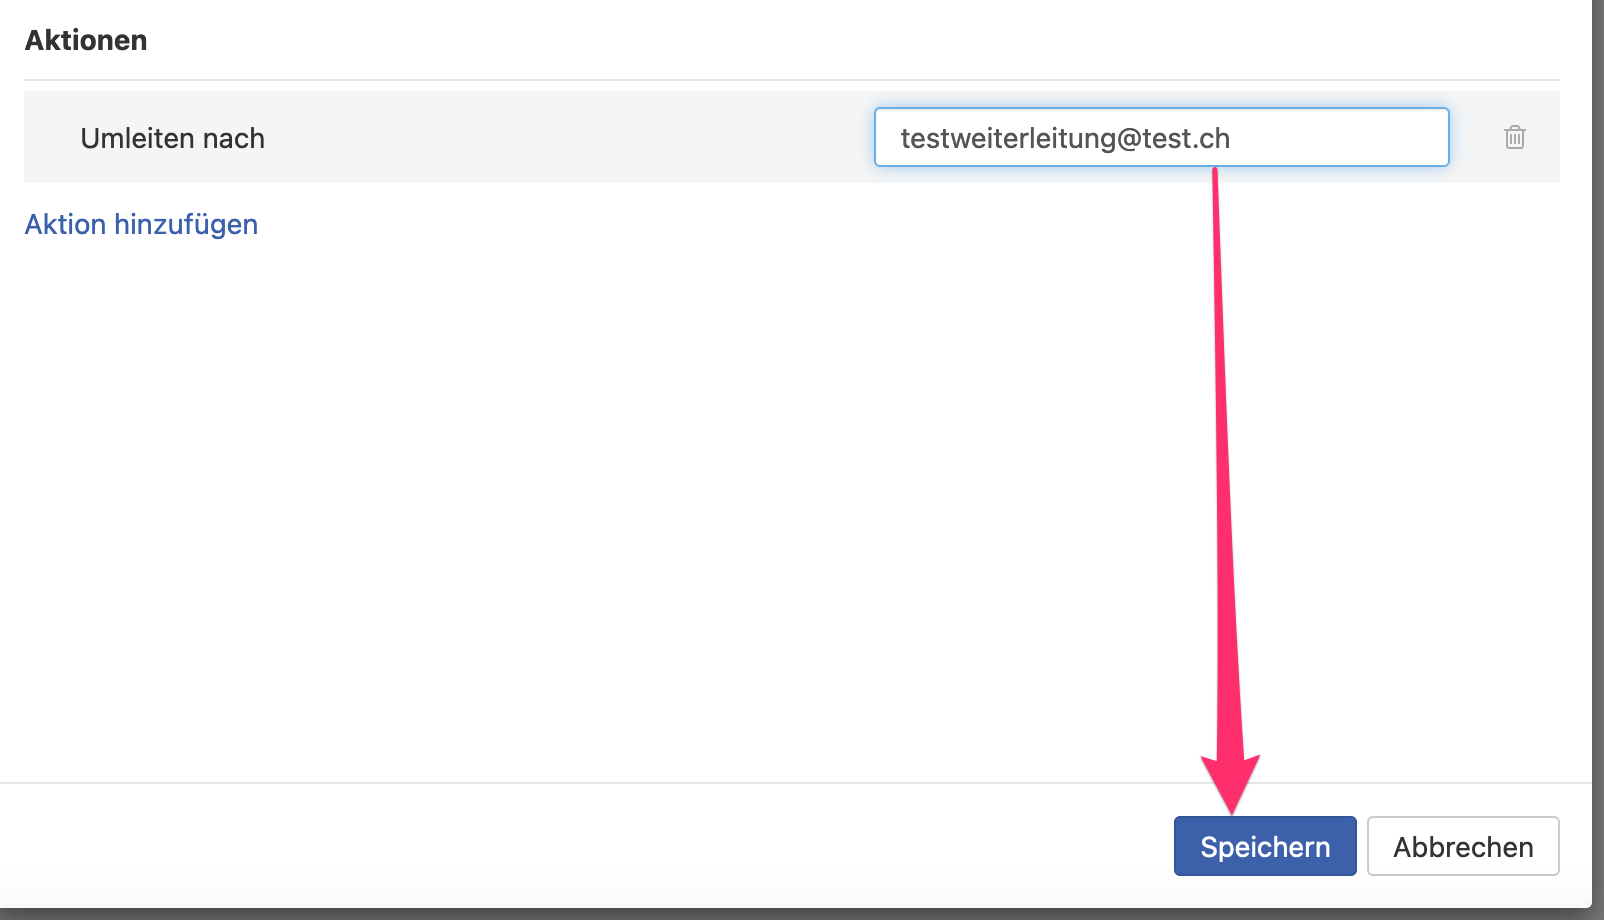
- Enter the desired e-mail address in the text field and click Save

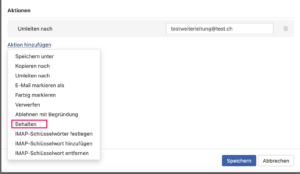
If you want to keep a copy on the server, click on Add action again and select Keep

